
Snowflake Setup Guide
Step-by step guide of how to import data into Snowflake using Datastreamer pipeline.
Setting up Snowflake data egress involves just a few steps. The component offers a range of data integration options that cover the most common use cases. You can ingest data using cloud storage staging options like Google Cloud Storage (GCS), choose between SQL insert or Snowpipe for loading, and take advantage of built-in file collation for batching and performance.
Prerequisites
To use Snowflake within your Pipelines, you will need to have the following:
- Datastreamer Portal account with access to add a new component.
- Snowflake User Name.
- Snowflake Account Host Name.
Setup Instructions
Step 1: Open the target Pipeline within Portal
You can create a new Pipeline or open an existing Pipeline within the Portal.
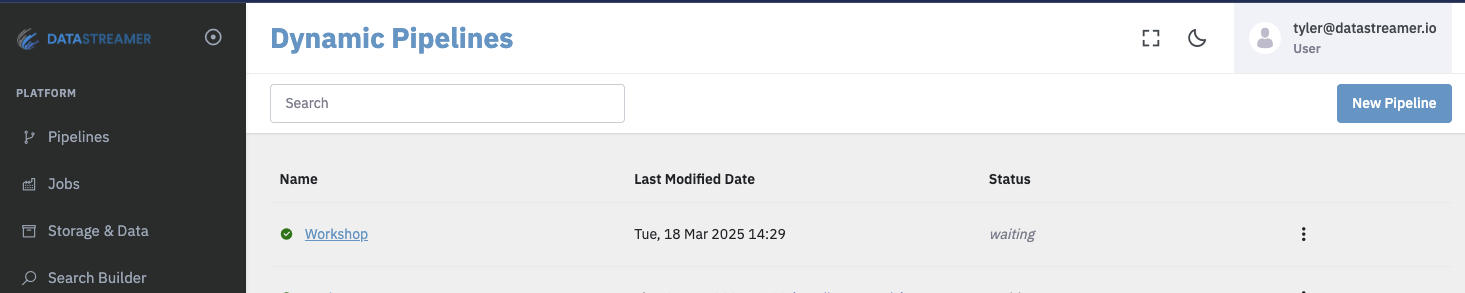
Dynamic pipeline list page from Datastreamer Portal.
Step 2: Add a source component from the selection menu
Add a source component (ingress) to bring data into your pipeline.
You can import your own data using a variety of available connectors, such as AWS S3, Google Cloud Storage (GCS), Direct Data Upload, and more. Alternatively, you can use one of the available web data sources.
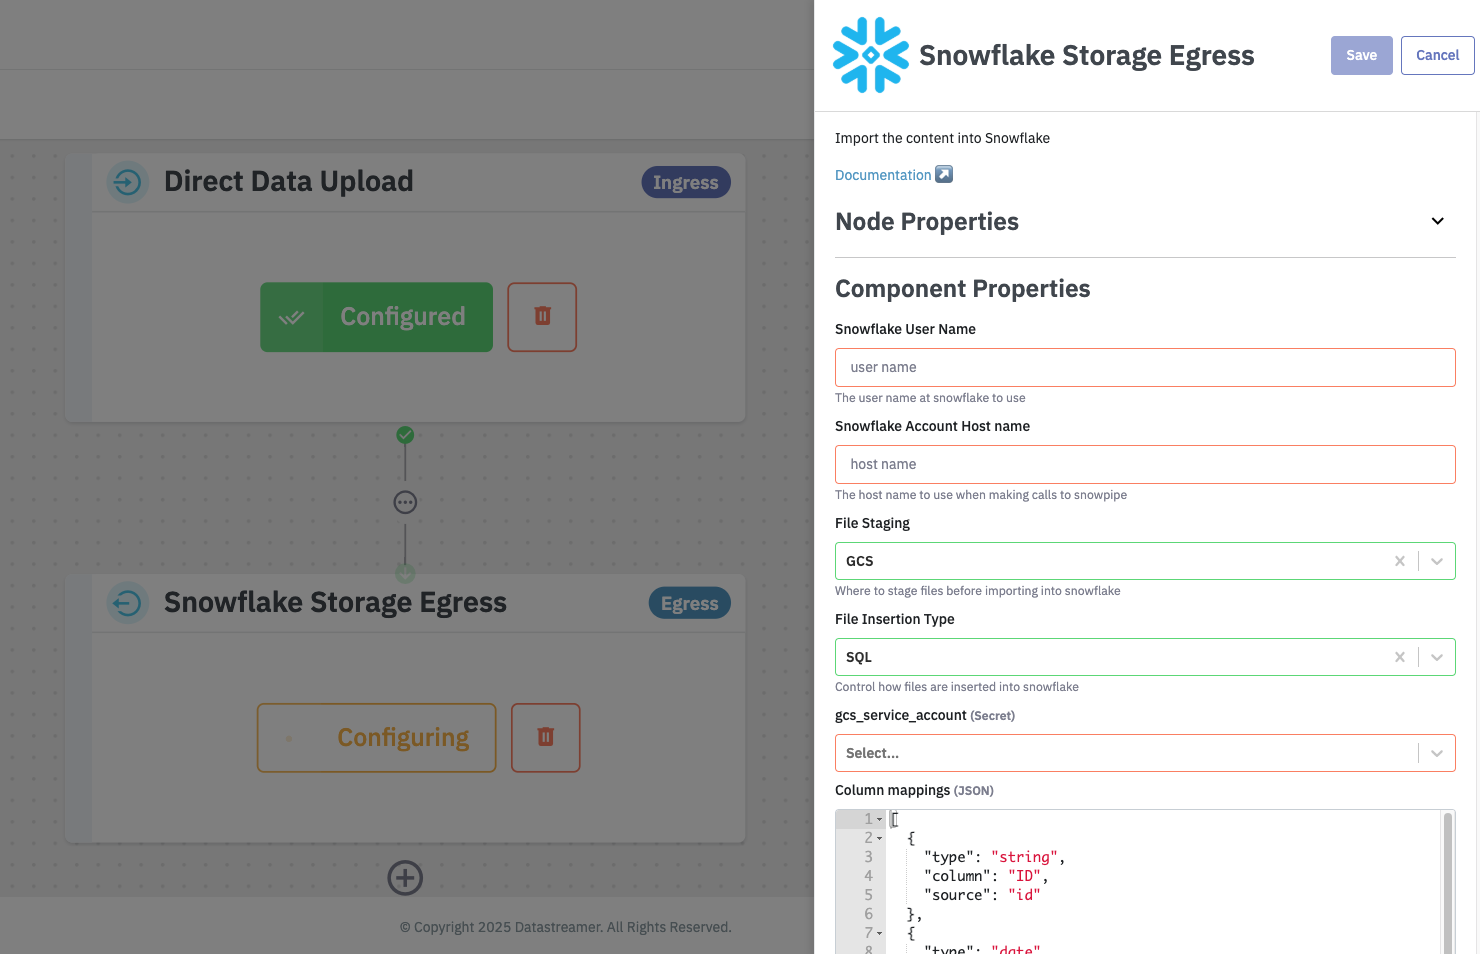
Step 3: Configure the component
Add the Snowflake component to your pipeline and fill in the required configuration. Make sure to save your changes.
Step 4: Deploy your Pipeline
Upon deployment, this Pipeline is fully ready to consume and process data. Deploying generally takes 10-30 seconds for full rollout and diagnostics.
More details on Pipeline deployment is available here: Docs: Pipeline Deployoment
Updated about 1 month ago