
Databricks SQL Egress
Import JSON documents into your your Databricks table from your Datastreamer pipeline.
Setting up Databricks data egress involves just a few steps.
Prerequisites
To use Databricks integration within your Pipelines, you will need to have the following:
- Datastreamer Portal account with access to add a new component.
- Databricks URI.
- Databricks Access token Databricks Access Token.
- A configured Databricks Table to store the JSON content.
Setup Instructions
Step 1: Open the target Pipeline within Portal
You can create a new Pipeline or open an existing Pipeline within the Portal.
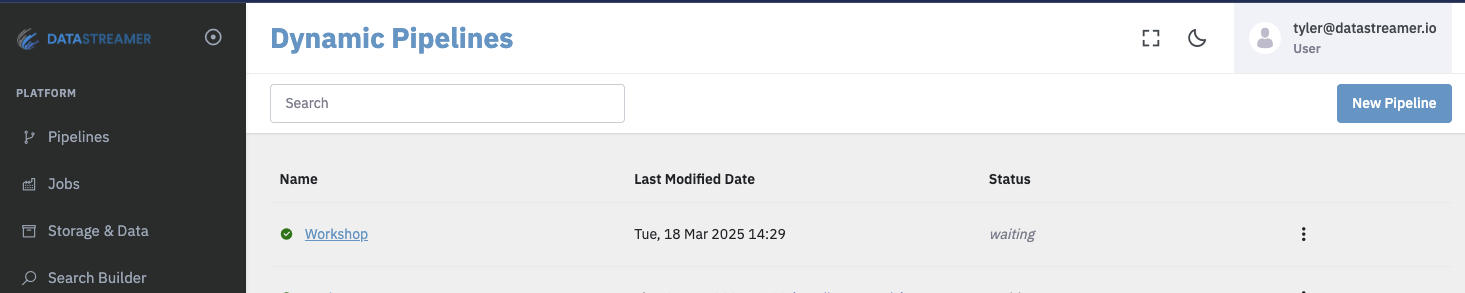
Dynamic pipelines list page from Datastreamer Portal.
Step 2: Add a source component from the selection menu
Add a source component (ingress) to bring data into your pipeline.
You can import your own data using a variety of available connectors, such as AWS S3, Google Cloud Storage (GCS), Direct Data Upload, and more. Alternatively, you can use one of the available web data sources.
Step 3: Configure the component
Add the Databricks component to your pipeline and fill in the required configuration. Make sure to save your changes.
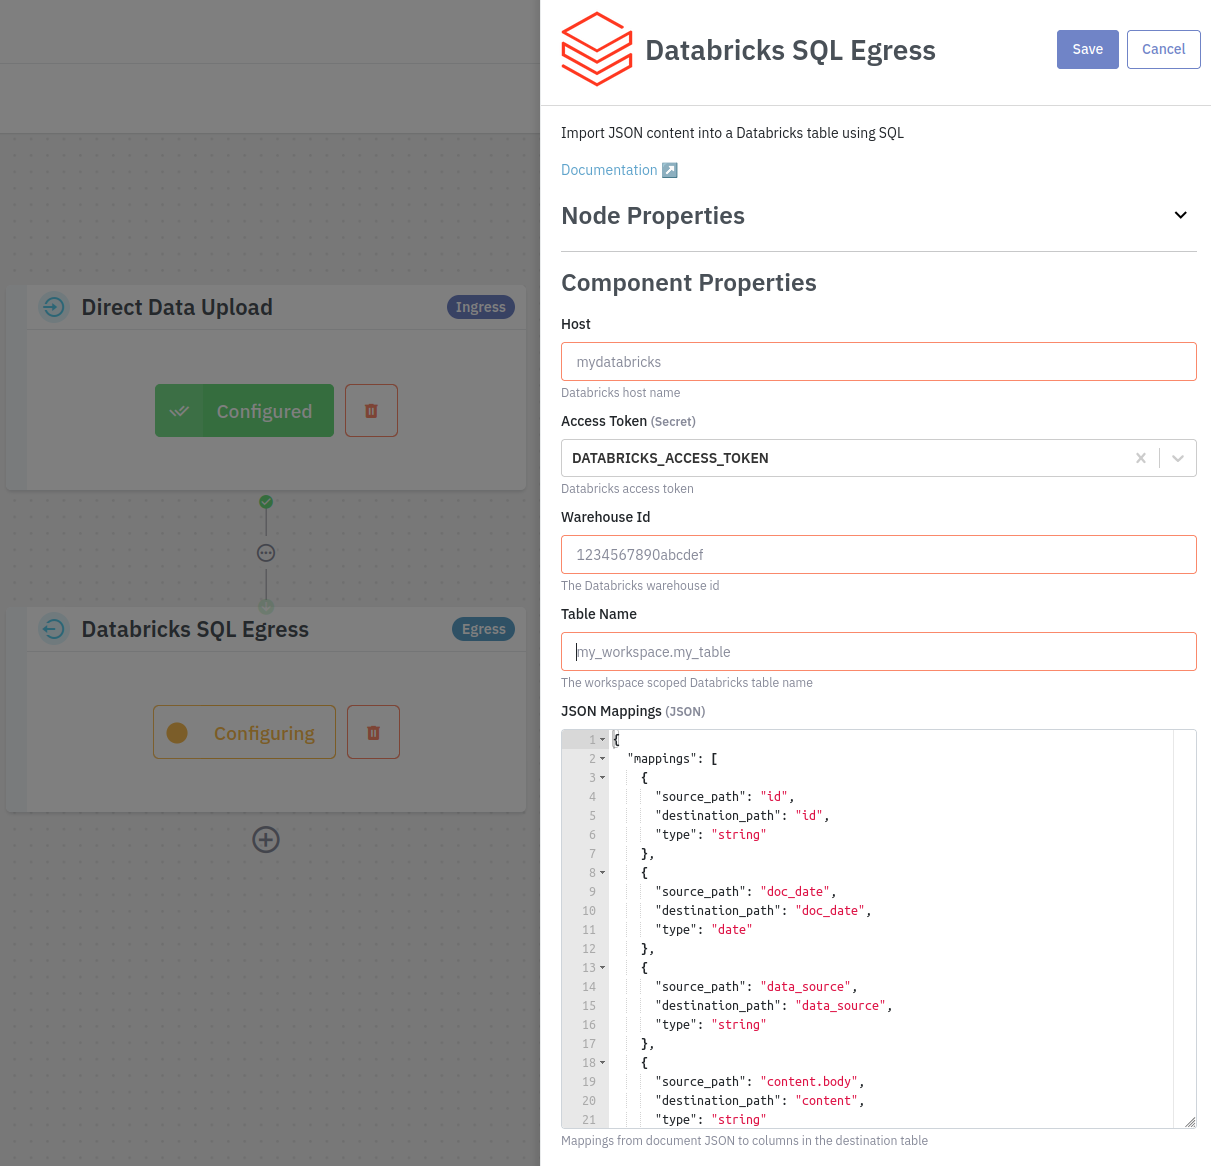
Host
The Databricks workspace URL.
AccessToken
The Personal Access Token for authenticating with Databricks.
Warehouse Id
The id of the Databricks warehouse where you table is located.
Table Name
The Databricks table that documents will be inserted into. Typically this will be scoped with the Databricks schema.
JSON Mappings
The mappings array defines how fields from an incoming JSON document are transformed into columns in a Databricks table.
Each mapping object has three properties:
- source_path: JSON path of the field in the source data.
- column: Target column name in the Databricks table.
- is_pk: Specifies this field is the primary key. Only the first column with
is_pkset totruewill be used (optional - default isfalse). - type: Data type for the column. Supported types:
stringintfloatboolarraydate(dates are in ISO8601 Zulu format , e.g.2024-07-07T00:00:00.000Z)
- native_type: The Databricks column type (optional). If not set the following types are assumed:
string - STRINGint - INTfloat - DOUBLEbool - BOOLEANdate - TIMESTAMP_NTZ
Example
{
  "mappings": [
    {
      "source_path": "id",
      "column": "id",
      "type": "string",
      "is_pk": true,
    },
    {
      "source_path": "doc_date",
      "column": "doc_date",
      "type": "date",
      "native_type": "TIMESTAMP",
    },
    {
      "source_path": "metadata.status",
      "column": "status",
      "type": "string"
    }
  ]
}
Step 4: Deploy your Pipeline
Upon deployment, this Pipeline is fully ready to consume and process data. Deploying generally takes 10-30 seconds for full rollout and diagnostics.
More details on Pipeline deployment is available here: Docs: Pipeline Deployoment
Updated about 1 month ago